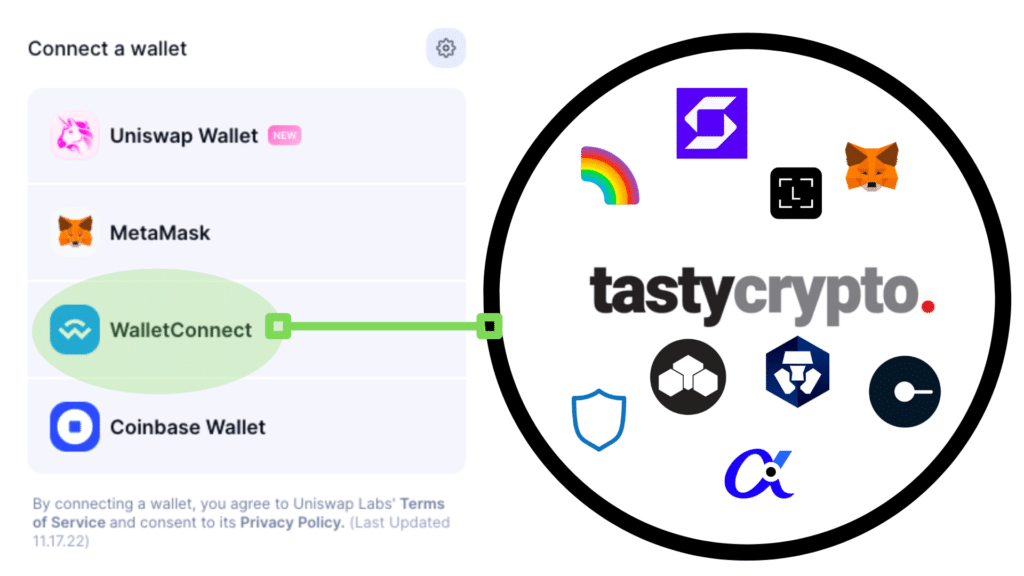
tastycrypto Wallet: Download Guide

In this guide, we’ll teach you everything you need to know about getting started with the tastycrypto wallet!

Written by: Mike Martin   |  Updated January 31, 2023

Reviewed by: Ryan Grace

Fact checked by: Laurence Willows

tastycrypto download

Unlike a traditional brokerage account, a self-custody Web3 crypto wallet can be opened in minutes. 

The tastycrypto wallet is a browser extension crypto wallet or a ‘web wallet’ compatible with the Ethereum mainnet. 

This type of crypto wallet is downloaded directly to your Google Chrome web browser. This browser integration allows for a seamless experience while interacting with decentralized applications (dApps).

In order to get started using the tastycrypto browser extension wallet, follow the simple steps in this guide. 

New to crypto and blockchain? Check out our crypto glossary here!


* The tastycrypto wallet will initially only have the ability to store and send/receive cryptocurrency. In the coming months, we will integrate both crypto swapping and decentralized application (dApp) connectivity.

** A virus or malware program may be stored latently on your device. If you unknowingly download an infected file or visit a compromised website, a hacker’s program may be waiting for you to fund your wallet in order to transfer the crypto out. It is therefore wise to initially transfer a small amount of crypto to your tastycrypto wallet to assure it is not compromised before sending larger quantities.

*** Currently, the tastycrypto wallet is only available to US residents. We will be expanding our offerings globally in the coming months.

1. Downloaded the Google Chrome browser. 


As of right now, the tastycrypto wallet is only compatible with the Google Chrome browser. You can download the Google Chrome browser here
Having problems downloading the Google Chrome browser? Visit the Google Chrome Help Center! 

2. Download the tastycrypto Wallet Extension

After you have downloaded the Google Chrome browser, you will need to visit the Google Chrome Web Store to download the tastycrypto wallet extension.  

3. Pin Your Wallet Extension to Your Browser

After your tastycrypto wallet has been downloaded, you will want to ‘pin’ your new extension to the top of your browser. This will help to make your wallet more accessible. 

In order to pin your wallet extension to your Chrome browser header, locate and click the gear icon on the top right side of your Google Chrome browser, as displayed below:

From the dropdown box that populates, locate and click the blue pin next to the tastycrypto wallet:

After you click this pin, you will see the tastycrypto icon populate on the header of your browser. 

Whenever you want to access your tastycrypto wallet, simply click this icon, and voilà, your tastycrypto wallet will appear!  

4. Welcome to tastycrypto: What’s next?

After you have successfully opened your tastycrypto wallet extension, you have two choices: ‘import existing wallet’ or ‘create a new wallet’

In this article, we are going to focus on creating a new wallet, so click the red button if this applies to you. 

If you are importing a wallet, choose this option, and then enter the seed phrase associated with your previous self-custody crypto wallet.  

If you hold crypto on an exchange such as Coinbase, you are unable to import your crypto as these exchanges do not provide users with private keys/seed phrases. 

5. Recovery Phrase

This next screen will prompt you to write down your recovery phrase, which is also known as a ‘seed phrase’. 

Seed phrases are algorithmically created from a private key, which is a 256-bit string of digits and numbers. Seed phrases are like master keys in that they give you access to all the private keys in a wallet. 

If you lose this phrase, you will not be able to access your crypto. Not even tastycrypto has access to it, so we are therefore unable to obtain it. 

⚠️ Important: Store your seed phrase in a very secure place. Whoever has access to this secret recovery phrase has access to all the crypto in your wallet. If this phrase is revealed to another party, that party could drain your wallet. Think of this phrase as a password to a bank account with no central authority able to recover it if lost. 

6. Verify Phrase 

The next step is simply to assure us that you have indeed written down your recovery phrase (this is very important!). 

Enter the words you wrote down in the previous step as instructed by the wallet. 

7. Select Coins

The next step is to select two coins that you want to initially display in your wallet. If you don’t yet know what coins you want in your wallet, you may still want to select “Ethereum (ETH)” as this crypto is used to pay gas fees when transacting in DeFi. You can always add more coins or tokens later on.

The tastycrypto wallet is currently compatible with the Ethereum and Bitcoin blockchain networks (more networks to come soon!).

8.Set Password

The next step is to create a password. This password will allow you to access your tastycrypto wallet on whatever device you download it to. 

⚠️ Important: Passwords are different from seed phrases. You will always need to have your seed phrase saved. If your device is inaccessible, you can not download a new tastycrypto wallet and use the old password to access your wallet. 

9. Wallet Created!

Congratulations! You have successfully created your tastycrypto wallet. 

Happy trading!

Picture of Mike Martin

Mike Martin

Mike Martin serves as the Head of Content for tastycrypto. Before joining tastycrypto, Michael worked in the active trader divisions of thinkorswim, TD Ameritrade, and Charles Schwab. He also served as a writer and editor for projectfinance.

Michael has been active in the crypto community since 2017. He holds certifications from Duke University in decentralized finance (DeFi) and blockchain technology.

Contact: Mike@tastycrypto.com

Share the Post:

The Best Newsletter

You've Never Read

Data-driven crypto insights delivered every Saturday morning.